IF IT GOES ... IT'S VEHICULAR
13 Simple Steps To Changing Brake Pads: A Confident DIY Guide
13 Simple Steps To Changing Brake Pads
Changing brake pads is one of the most important maintenance tasks you can do yourself. It saves money, takes a few hours, and gives you confidence knowing your brakes are in good shape. This guide walks you through the full process of changing brake pads step by step, whether you are a first-timer or just need a refresher.
Before you start changing brake pads, make sure you have the right replacement pads for your vehicle’s make, model, and year. Using the wrong pads is a common mistake that costs time and money.
Step 1: Gather Necessary Tools and Materials
You will need a lug wrench, a floor jack, jack stands, a C-clamp or brake caliper tool, and your new brake pads. Having everything within reach before you start makes changing brake pads much smoother and faster.
Step 2: Loosen the Lug Nuts
With the vehicle still on the ground, use your lug wrench to loosen the lug nuts on the wheel you are working on. Do not remove them completely yet. Loosening them now, while the wheel is still on the ground, prevents the wheel from spinning when you apply torque.
Step 3: Lift the Vehicle
Position the floor jack under the vehicle’s designated jack point and raise it off the ground. Place jack stands under the frame for safety. Never work under a vehicle supported only by a floor jack.
Step 4: Remove the Wheel
With the lug nuts fully loose, remove each one and take off the wheel. This exposes the brake caliper, rotor, and the old brake pads you are about to replace.
Step 5: Remove the Caliper
Locate the caliper bolts and remove them using the appropriate socket. Carefully slide the caliper off the rotor. Do not let it hang by the brake line. Use a piece of wire or a bungee cord to support it from the spring or frame above.
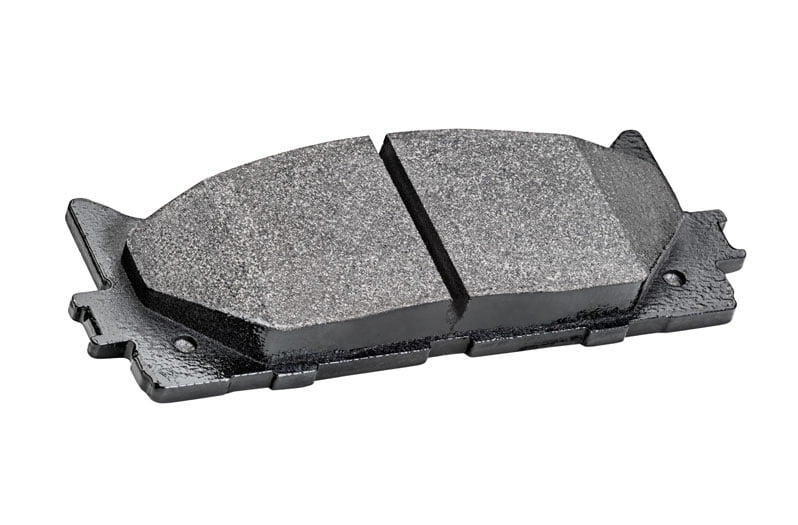
Step 6: Remove the Old Brake Pads
Slide the old brake pads out of the caliper bracket. Note the orientation of each pad before removing them. This is your reference for installing the new ones correctly. Changing brake pads goes much smoother when you pay attention to how the old ones came out.
Step 7: Compress the Caliper Piston
Before installing the new pads, you need to push the caliper piston back into its housing to create room for the thicker new pads. Place a C-clamp or brake caliper tool against the piston and apply slow, steady pressure until it is fully retracted. Keep an eye on the brake fluid reservoir in the engine bay as you do this, as the fluid level will rise.
Step 8: Install the New Brake Pads
Place the new brake pads into the caliper bracket, matching the orientation of the old ones. Make sure they sit flat and flush against the bracket. Proper alignment here is critical for even braking and pad wear.
Step 9: Reattach the Caliper
Slide the caliper back over the new brake pads and onto the rotor. Thread the caliper bolts in by hand first, then tighten them to the torque specification in your vehicle’s manual. Do not overtighten.
Step 10: Put the Wheel Back On
Place the wheel back onto the hub and hand-tighten the lug nuts to hold it in place before lowering the vehicle.
Step 11: Lower the Vehicle
Carefully lower the vehicle back to the ground using the floor jack. Remove the jack stands.
Step 12: Tighten the Lug Nuts
Using a star or criss-cross pattern, tighten each lug nut fully with your lug wrench. This ensures even pressure across the wheel.
Step 13: Test Your Brakes
Before driving anywhere, pump the brake pedal several times until it feels firm. This brings the caliper pistons into contact with the new pads. Then test the brakes in a safe, low-speed environment before returning to normal driving.
Changing brake pads is a straightforward job when you follow the steps carefully. If at any point something does not look right, stop and consult your vehicle’s repair manual or take it to a professional. Brakes are not something to guess on.
You can find quality replacement brake pads for your vehicle at Brake Pads on Amazon.